Best Practices for Optimizing Video Content
When was the last time you posted a video to social media? It’s no secret that video content such as Instagram Reels, TikToks, and YouTube videos have taken over social media feeds, trying to capture your attention. Posting video content is a great way to communicate a message to your audience and to get your audience to take a specific action (visit your website, buy your product, etc.). To get started with creating video content, follow these practices for planning, editing, and scheduling:
Planning

During the planning stage of video content creation, you want to ensure that your videos are well thought out and organized.
Determine target audience
Who are these videos for? Who are you trying to target? Knowing your target audience helps build a solid foundation for your content.
- Where are they from?
- How old are they?
- What do they like/dislike?
- What social platforms do they use? (This helps determine which platform you should post on)
- What are their hobbies?
Research topics you want to communicate
Make sure topics are always relevant to your brand and target audience. Doing this ensures that your content is consistent, and your audience could potentially view you as a thought leader in your industry.
- What topics does your audience need/want to know about?
- What are the pain points of your audience?
- Can you provide a solution to their pain points? If so, how?
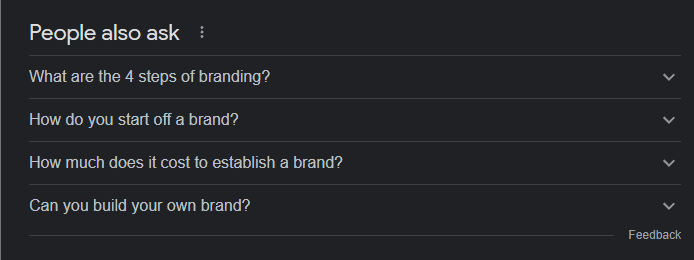
Tip: Google search keywords about your topic and use the questions that pop up as guides for your content.
Define content you want to communicate for a set period
It is best to plan out content ahead of time, up to 1 month. That way, your content will be organized, and you will know exactly what to post each day.
- Create a content calendar to outline posts for each day
- Define tone for your content
- How you communicate your message is just as important as what your message is.
- What tone will you communicate your message in? Energetic, formal, calm, humorous, etc.
- How you communicate your message is just as important as what your message is.
Define shot list and messages for each piece of planned content
In order for your content to be seen and heard clearly, it is best to know exactly where you are shooting your content. For each piece of content you plan, ensure you define the message.
- Write scripts for each piece of content. Scripts can either be a basic outline with key points or fully detailed with the exact words you will say. If you use an outline it is best to practice a few times to make sure you know what you are going to say in the video.
- What types of footage will you use? You can use recorded camera footage, stock footage, static images with a voiceover, etc.
- Identify shooting locations for each piece of content
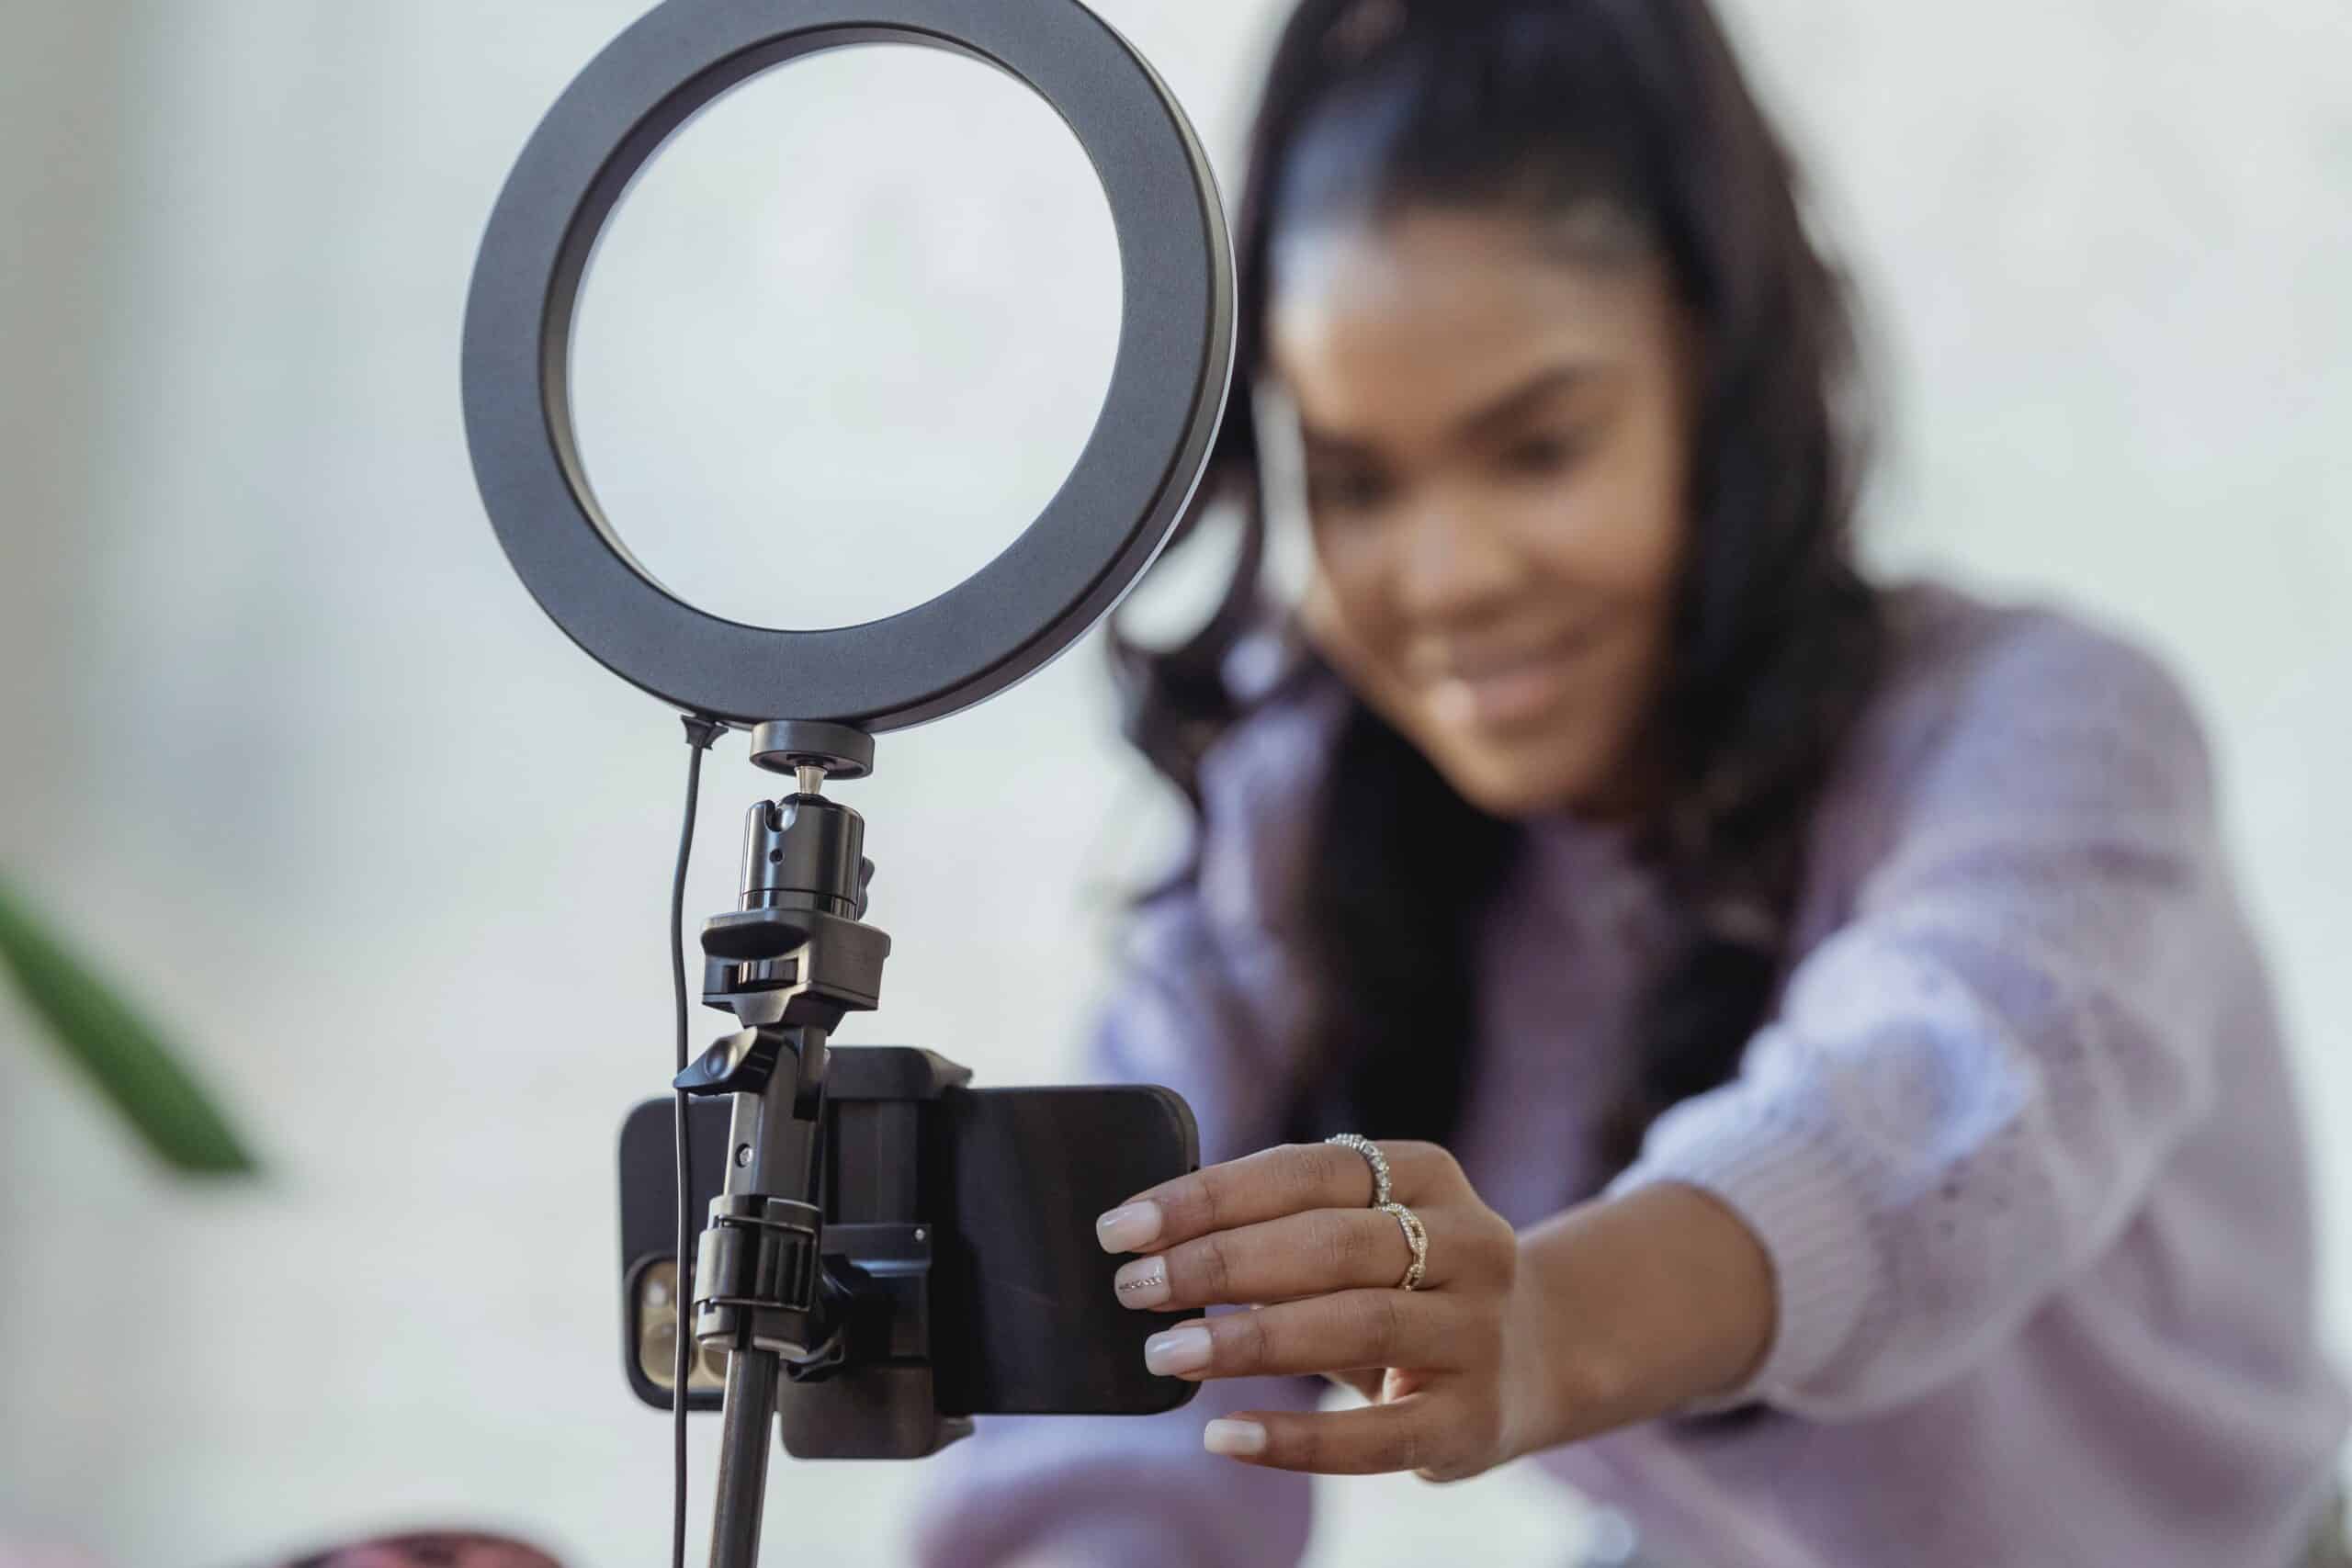
- Determine the location where you will be shooting. Will you be shooting indoors or outdoors? If you are shooting indoors, ensure that you have appropriate lighting for your video.
- Define the platform you are shooting for and communicating on.
- If you are shooting a YouTube video, shooting horizontally is the best method. If you are shooting for social media, vertical is the best method. Platforms like Instagram and TikTok are in favor of short, vertically framed videos.
- Optional: create custom thumbnails (YouTube)
- A free app like Canva is a great tool to create thumbnails to catch your audience’s attention on YouTube.
Plan to shoot multiple videos at a time
This is a content creation process known as “batch recording.” The benefit of doing this is that you only need one day for recording and you have content created weeks ahead of time.
- Make sure to take small breaks in between recordings to avoid burnout!
Editing
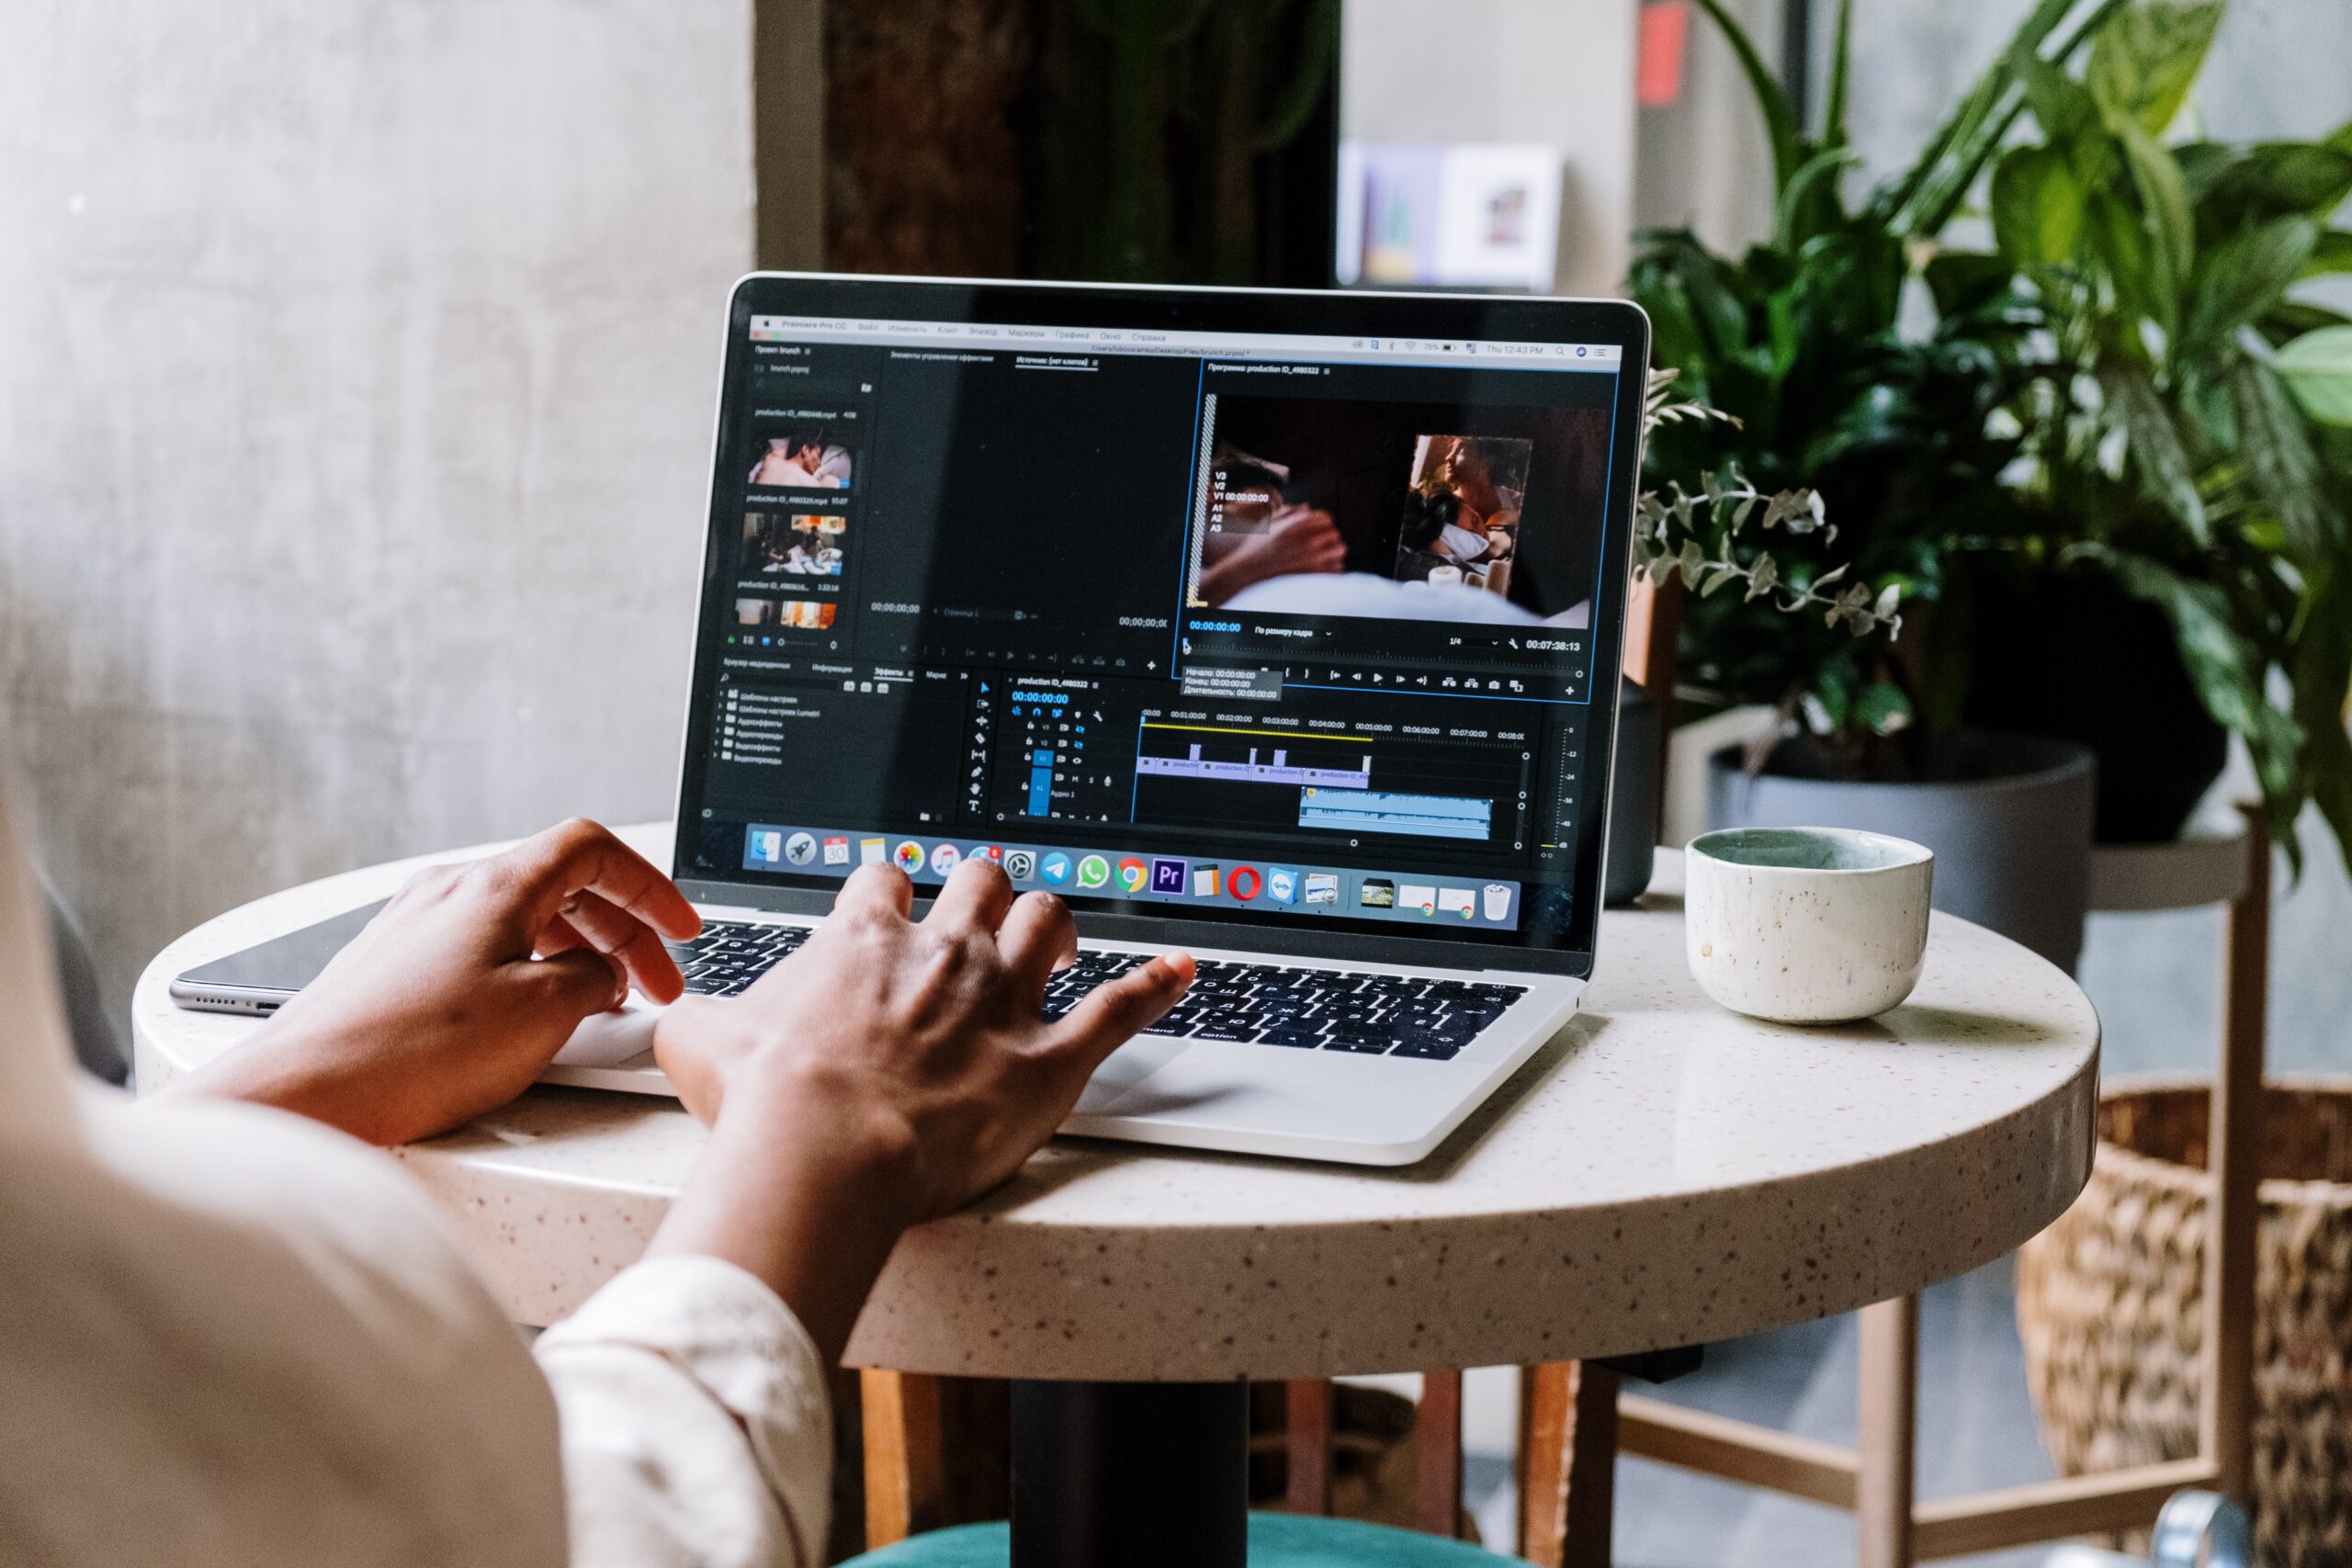
Whew! You have your content planned and recorded. Now it’s time to move on to the editing process. To decide how you want to edit your videos, you need software that fits your budget. You get more advanced, in-depth features with paid software, such as Premiere Pro and Final Cut Pro, but there are free options as well. We have listed a few below.
Free Editing Software
- Sneak preview: When editing a long piece of content, such as a YouTube video, you can first edit a snippet of your video and post it to social profiles of your choice as a “sneak preview” to generate excitement for the full video.
- Selecting music (if applicable)
- You can select from a wide range of music, such as royalty-free music and non-copyrighted music. Instagram Reels and TikTok allows you to select trending sounds and songs from their library, before you post.
Scheduling
Last, but certainly not least, is scheduling your content. There are multiple ways to schedule content ahead of time to ensure your posts are being seen by your audience. Before you hit “post,” decide if you want to pre-schedule posts or post individually.
Best software for scheduling social media posts
In addition to editing software, there are options for scheduling software that will allow you to schedule posts ahead of time, if necessary. The benefits of using scheduling software are that they allow you to post to multiple social media platforms and you can monitor post performance.
- Free software options include:
- Here are 4 software options that are paid, but they offer free trials if you would like to try them:
If you are only posting on Facebook and Instagram, the Meta Business Suite and Creator Studio can be helpful.
Keeping a backlog of content
After your posts are scheduled and ready to go, always have a backlog of content on deck for later reference.
- The easiest way to do this is by saving your content (posts, videos) to an external hard drive or your computer (always go with the one that has more storage, typically the external drive).
By following these practices, you can ensure that you are optimizing video content that is appealing to your audience. We hope that this guide will help you take your social media content to the next level! Thanks for reading!